Article - Woo-commerce Etsy Integration, How to do it


Do you know you can seamlessly integrate your Etsy shop into your Woo-commerce store to give you more selling leverage and access to more E-commerce features?
The Woo-commerce Etsy integration is a plugin that allows you to sell your products on Etsy shop on your WooCommerce website which automatically enables the synchronization of order requests, transactions and inventory between Etsy and WooCommerce in realtime.
In this Article, We highlight concise steps to enable this integration.
Why Integrate your Etsy Shop with Woocommerce?
How to integrate your Etsy Shop with woocommerce
Install and activate the WordPress Etsy plugin
Syncing Etsy with Woocommerce
Order Configuration
Etsy Sync Configuration
Etsy Shop Connection
Login To your Etsy Account
- Authorization
Successful Connection
One More thing!
- Install and Activate the Plugin
Woocommerce Etsy integration can be installed and activated from the WordPress plugin directory.
To install the plugin, log in to your WordPress dashboard, Navigate to Plugins >> Add New
Locate the search bar at the top right and type “ Woocommerce Etsy “. The Woocommerce Etsy integration plugin will appear on the search result, click on the Install Now button next to the plugin name to install the plugin
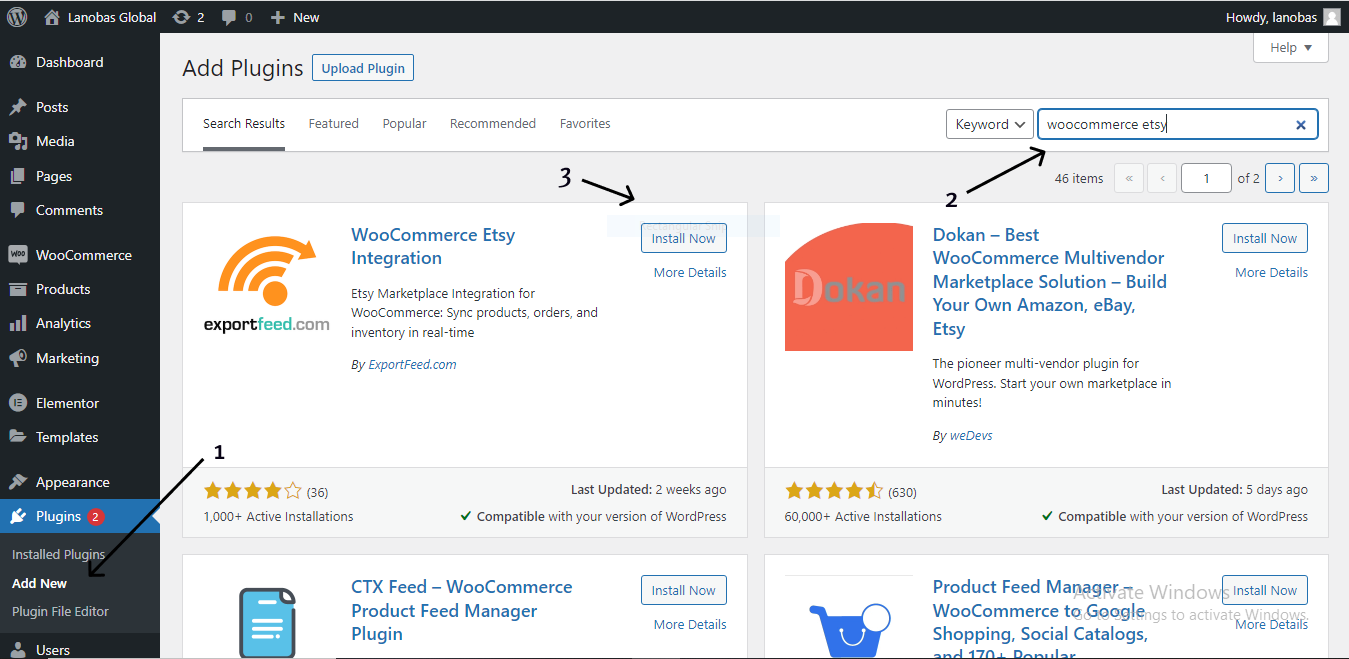
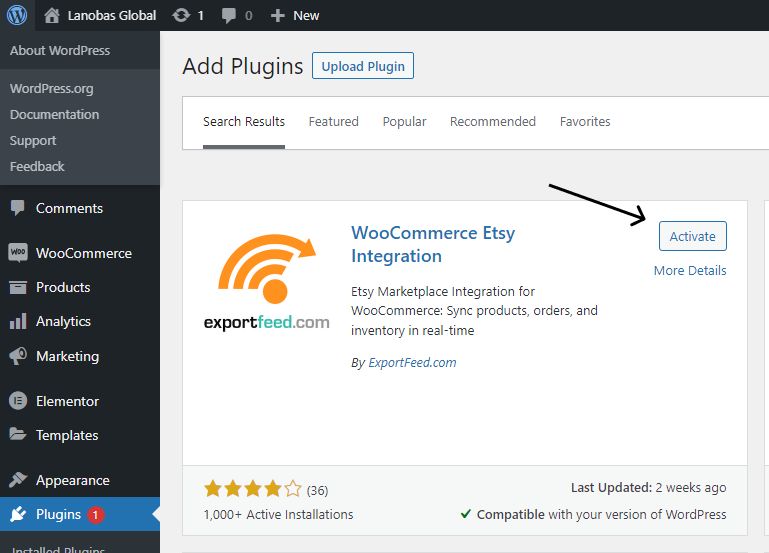
Once the installation is complete, the button changes to Activate, Click on this Activate button to activate the Plugin
2. Syncing Etsy with Woocommerce
After the Activation of the plugin, An automated setting wizard will be displayed showing you the various steps needed to sync Etsy with Woocommerce
- Order Configuration:
You will be asked to select suitable configurations for order and inventory synchronization and its attributes which will overwrite your Etsy product attributes by woo commerce product attributes
The first step in this sync process is the “Order and Inventory Sync Selection“ where you select Enable inventory sync and choose an Order Set Interval from the selection
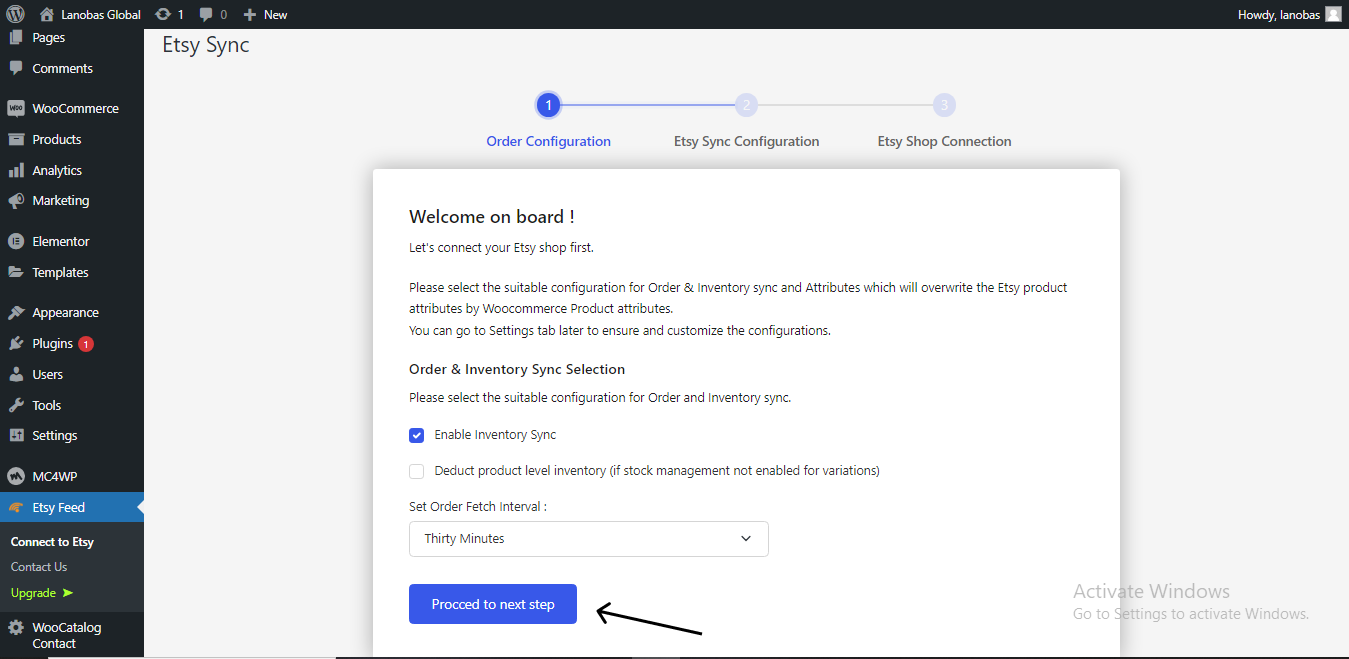
Click on Proceed to Next step
- Etsy Sync Configuration:
On the next slide, it takes you to the “ Etsy Sync Configuration “ where you will select attributes that will overwrite the Etsy products once you update the products in woocommerce
Check the boxes of the attributes that you want, any unchecked box will prevent its update and help you maintain the difference between the two sites
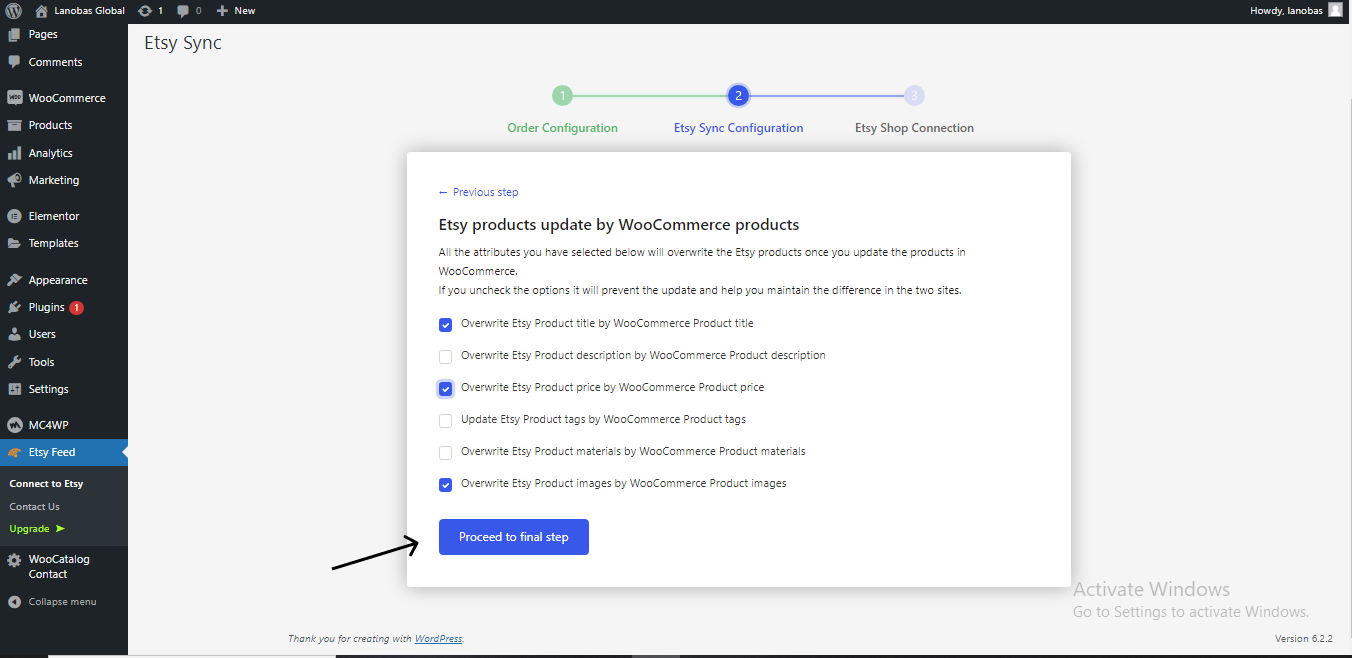
After checking the boxes of the attributes you want to be updated, click on Proceed to Next Step.
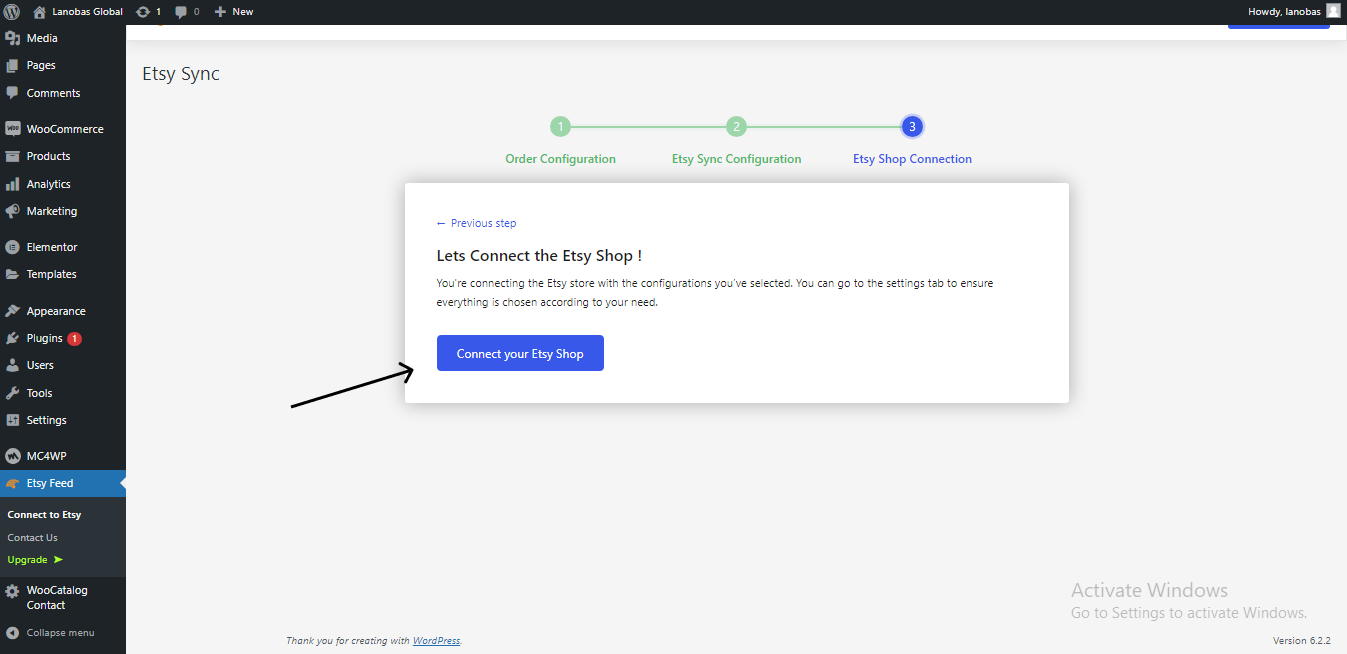
- Etsy Shop Connection
The next Screen confirms your selection by asking you to connect to your Etsy shop, click on the Connect your Etsy Shop button to connect.
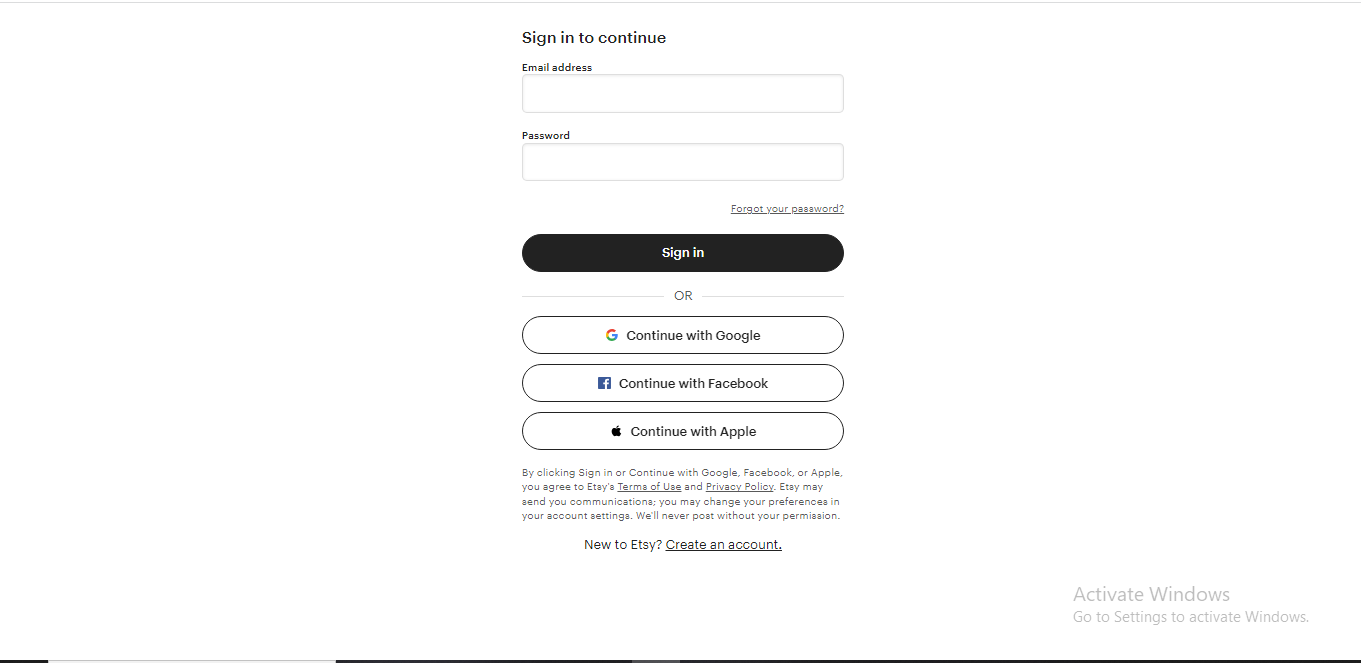
3. Login to your Etsy Shop
After clicking the button, it redirects you to the Etsy Website where you will be asked to log in to your Etsy account, Input your login details or log in through the different login possibilities provided.
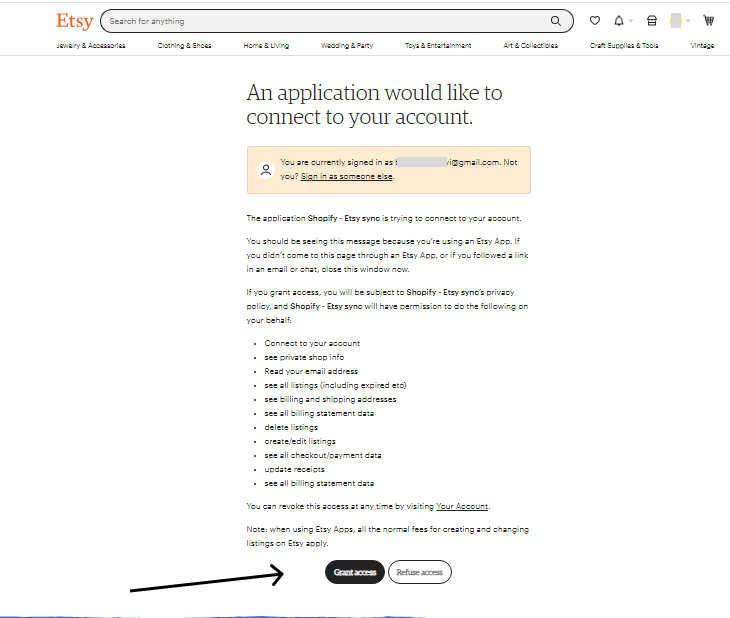
- Authorization
After a Successful Login, Etsy will seek your authorization, By telling you that an “Application would like to connect your Account “, Click on Grant Access
Once the Access is granted, It shows the below notification to confirm the successful integration
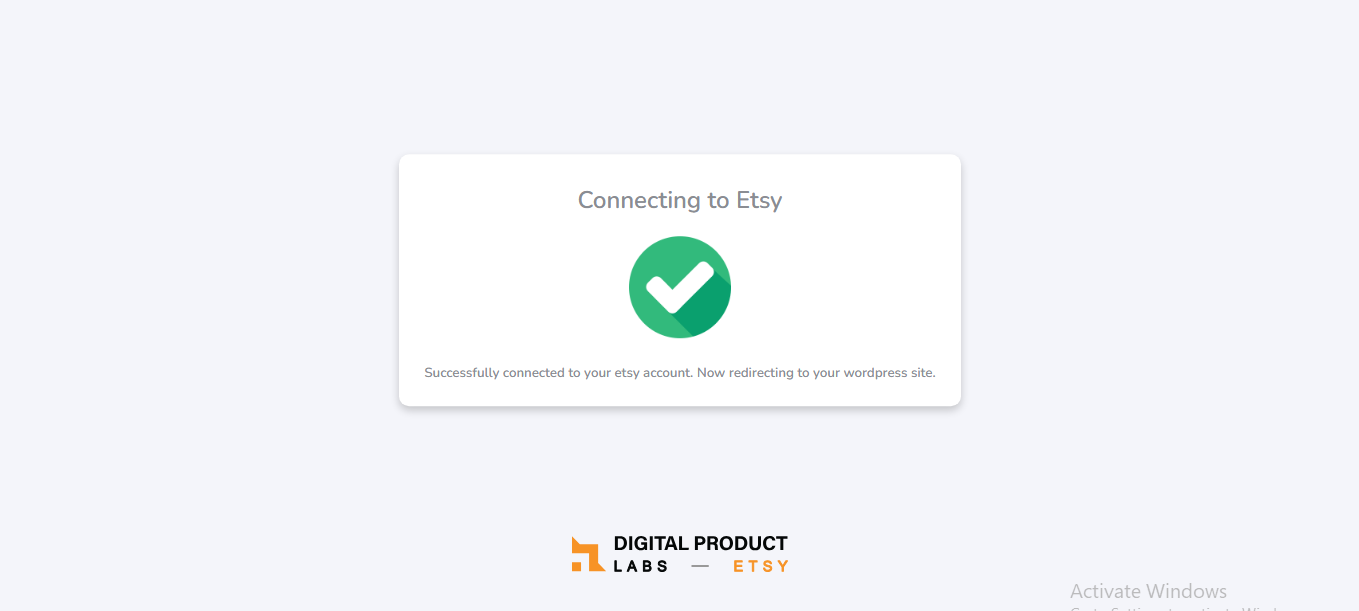
4. Successful integration
After the Successful integration, it redirects you to your WordPress dashboard, where it will automatically add your Etsy Shop to the list of directories on your dashboard
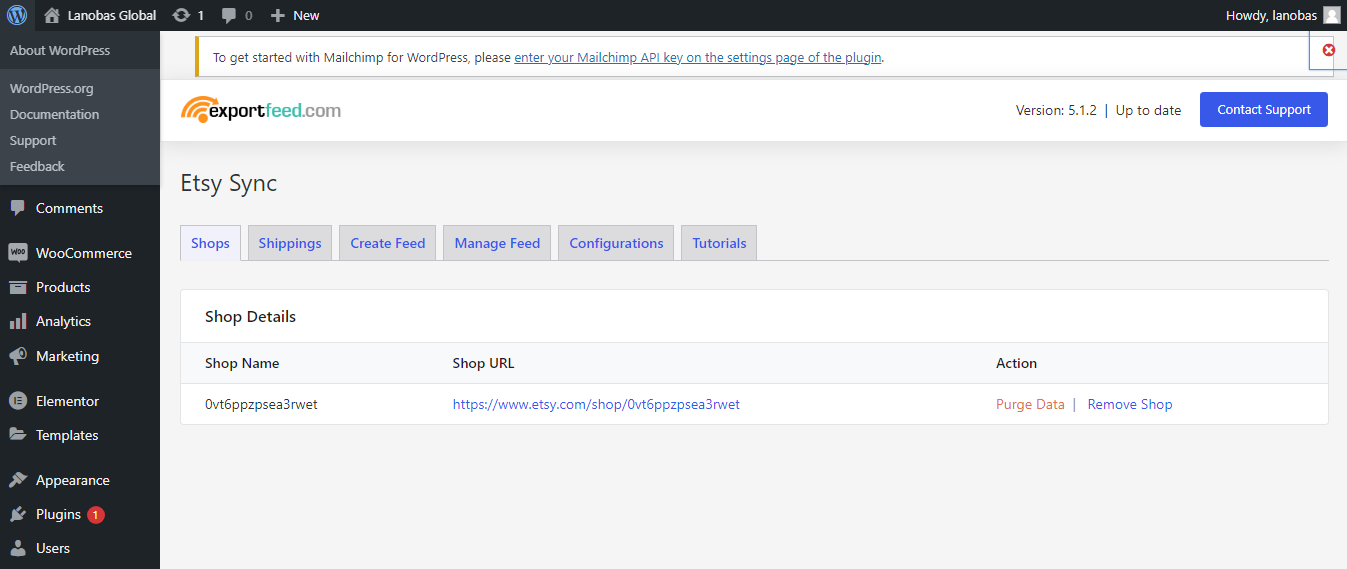
You can then subsequently make changes as you deem fit to your Etsy Shop on your WordPress dashboard and start selling!
5. One More Thing!
Once the integration is completed, You can from your WordPress dashboard adjust the settings to suit your preference and your selling audience on both platforms.
You can also do the following Etsy functions on your WordPress dashboard
Create New Feeds
Manage Feeds
Variation profiling
View uploaded listings
View your Etsy Orders
And Shipping Configuration

Thanks for Reading!